Creative Geometric Pattern Design: Smart Selection for Flawless Results
Creative geometric pattern design brings structure and style to any project. A well-chosen pattern can transform a simple background into a striking visual statement. But the excitement of finding the perfect design often fades when you realize the file you downloaded doesn’t work the way you expected. A mismatch between the file format and your intended use can stop a project in its tracks. Whether you are a beginner building your first brand kit or a seasoned creator working on a tight deadline, understanding the mechanics behind EPS and PNG files is essential. This guide walks through the common pitfalls that lead to wasted time, extra costs, and disappointing results.
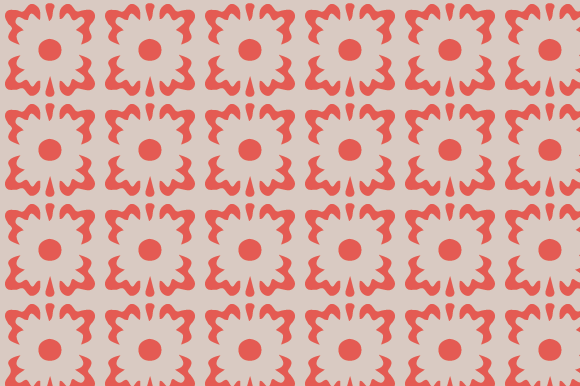
The Vector vs. Raster Confusion
The single most frequent mistake is treating an EPS file and a PNG file as interchangeable. They serve entirely different purposes. An EPS file contains vector data. It is made of mathematical paths and curves. This means you can scale it to the size of a billboard without losing any sharpness. A PNG file is raster-based. It is made of pixels. It has a fixed resolution. If you stretch a PNG beyond its original dimensions, it becomes blurry or pixelated.
Why this matters: If you download a PNG for a large-format print job, you will end up with a soft, unprofessional result. If you download an EPS for a quick web graphic, you might find the file is unnecessarily large and complex to export.
The better approach: Define your end use before you search. For logos, business cards, signage, or any print material, always choose an EPS file. For social media posts, email headers, or web backgrounds, a high-quality PNG is often the faster and more practical choice. A smart designer keeps both formats on hand, but knows which one to open first.
Reading the Fine Print on Licenses
Just because a geometric pattern is labeled “Royalty-Free” does not mean you have unlimited rights to use it. Many entrepreneurs and content creators make the mistake of assuming a single download covers all use cases. A pattern you purchase for a personal blog post is not automatically cleared for use on merchandise you plan to sell on a print-on-demand platform.
How this affects you: Violating a license agreement can lead to takedown notices, legal fees, and lost revenue. At the very least, it damages your professional reputation.
What to check before downloading:
- Commercial use allowance: Does the license explicitly permit commercial applications?
- Print-on-demand restrictions: Some licenses limit the number of copies you can produce or the platforms where you can sell.
- Attribution requirements: Are you required to credit the creator? If so, where?
- Modification rights: Can you change the colors or combine the pattern with other elements?
Taking five minutes to read the End User License Agreement (EULA) before clicking “download” saves you from major headaches later. When in doubt, contact the designer directly. Most creators appreciate the courtesy and will clarify their terms.
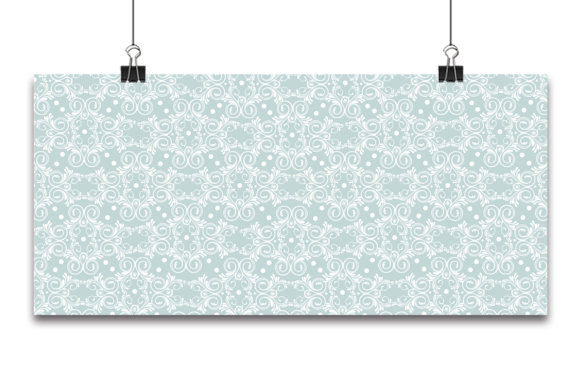
The Seamless Tile Reality Check
A geometric pattern that looks beautiful as a single square can fail completely when repeated across a large surface. Hard edges, mismatched lines, and broken diagonals ruin the illusion of a continuous texture. This is one of the most overlooked details in creative geometric pattern design. Beginners often assume all patterns tile seamlessly by default. They do not.
Why this happens: The pattern file may not have been constructed with a repeat grid in mind. The left edge does not match the right edge, or the top does not flow into the bottom.
How to avoid this:
- Look for the word “Seamless” in the product title or description. This indicates the pattern has been tested for tiling.
- Preview the repeat. Many marketplaces allow you to see a larger swatch. Look carefully at the seam lines.
- Test it yourself. If you design your own patterns, use the “Offset” filter in your vector software. This tool shifts the canvas by 50% and shows you exactly where the seams are.
- Check the file structure. A well-organized EPS will have the repeating element grouped or clearly labeled.
A seamless pattern saves you hours of manual fixing. Do not assume it is seamless simply because it looks tidy in the thumbnail.
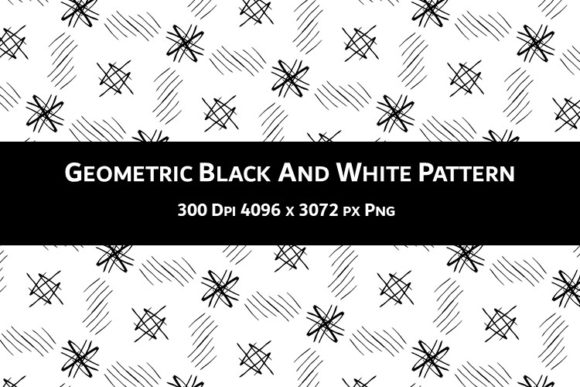
Why Resolution Rules for PNG Files
PNG files are incredibly convenient. They support transparency and compress well for the web. But convenience can become a trap when you need a printed output. A PNG downloaded at 72 DPI (dots per inch) looks crisp on a screen but will print with visible pixelation. This is a common frustration for small business owners who design their own marketing materials.
The practical effect: A beautiful geometric background on your website becomes a blurry mess on a printed flyer. You waste money on reprints and lose credibility with your audience.
What to look for:
- 300 DPI is the standard for high-quality print. Always check the product specifications for the PNG resolution.
- Dimensions in pixels. For example, 3000 x 3000 pixels at 300 DPI gives you a 10-inch printable square. That is a safe size for most brochures and posters.
- Upscaling limitations. An AI upscaler can help improve a small PNG, but it is never as good as starting with a native high-resolution file.
If you are unsure whether you will use the pattern for print or digital, buy the high-resolution PNG. You can always compress it for the web, but you cannot add resolution that was never there.
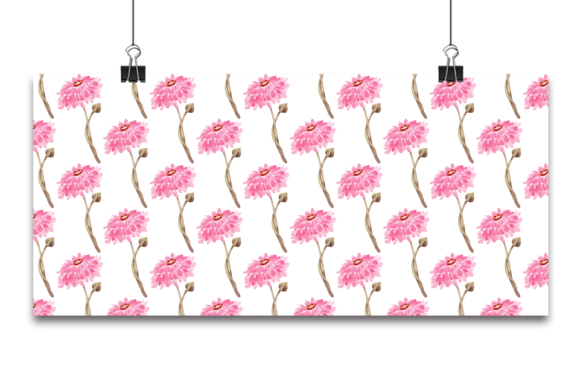
Balancing Pattern Complexity with Usability
A highly intricate geometric design can be visually stunning, but it can also create visual noise. When a pattern is too dense, it overwhelms the content placed on top of it. Text becomes hard to read, and the overall composition looks cluttered. This is a mistake that affects both the aesthetic quality of your work and the communication of your message.
Why this happens: Excitement over a detailed design overrides practical considerations. You fall in love with the pattern itself and forget its role as a supporting element.
The solution is balance:
- Check contrast. Place a text box over the pattern preview. Can you read the words easily? If not, the pattern is too busy for that application.
- Consider scale. A complex pattern intended for use as a main graphic might work beautifully. The same pattern intended as a subtle background for a product label might fail.
- Use opacity. Reducing the opacity of the pattern layer can tame the noise without losing the geometric aesthetic.
- Select patterns with negative space. Designs that incorporate breathing room allow the eye to rest and the content to stand out.
Effective geometric design is not about how much you can include. It is about how well the pattern supports the overall composition. A simpler design that enhances readability is almost always a better choice than a complex one that competes for attention.
Inside the EPS: Layers, Paths, and Editability
An EPS file is supposed to be the flexible option. It is resolution-independent and infinitely scalable. But not all EPS files are created equal. A common frustration is downloading a vector file that is completely locked down. The elements are merged into a single compound path or a single uneditable group. If you want to change a color, remove an element, or scale a specific part of the pattern, you cannot.
How this affects your workflow: You lose the main advantage of using a vector format. You end up tracing the design manually or abandoning it altogether, which wastes the money you spent on the download.
Identifying an editable vector file:
- Check the product description. Sellers usually specify if the file offers “fully editable vectors,” “organized layers,” or “individual elements.”
- Look at the file size. An EPS that is extremely small might contain a single flattened path. A larger file size with a good description suggests more detail and organization.
- Preview the layers. If the marketplace provides a peek inside the file structure, look for separate groups for each geometric shape.
- Open in your software. Before using it in a final project, open the EPS in Adobe Illustrator or Affinity Designer. Click on individual elements. If you can select and recolor them easily, you are good to go.
An editable EPS is a tool for creativity, not a wall. It lets you adapt the pattern to match your brand colors or project needs exactly.
The Hidden Cost of File Complexity
An EPS file with thousands of anchor points and complex gradients can slow down your design software significantly. You might notice lag, crashes, or long export times. This is particularly problematic for freelancers and creators working on deadline or using less powerful hardware.
Why this is overlooked: The preview looks fantastic, and the price is right. The technical performance of the file is not visible until you try to use it.
What to check before buying:
- Read reviews. Other buyers often mention if the file is heavy or causes performance issues.
- Check the anchor point count. Some marketplaces list this specification. Lower anchor counts mean better performance.
- Simplify when possible. If you need a simple background texture, choose a pattern with fewer sharp angles and overlapping shapes.
- Use the Outline View. In your vector software, switch to Outline View to see the actual path structure. If it looks like a tangled mess, it will likely perform poorly.
Efficiency matters. A pattern that looks great but destroys your workflow is not a bargain. Prioritize files that balance visual complexity with clean vector construction.
Making the Right Choice from the Start
Creative geometric pattern design offers endless possibilities for enhancing your projects. The difference between a frustrating experience and a smooth creative process comes down to a few minutes of careful evaluation. Before you click download, ask yourself: Do I need vector scalability or raster convenience? Does my project require a seamless repeat? Is the license appropriate for my commercial use? Is the image resolution high enough for print? Is the vector file organized for editing? Answering these questions upfront will save you time, money, and stress.
Use the previews, read the descriptions, and test the files in your own environment when possible. The patterns you select become the foundation of your visual identity. When you choose wisely, your work stands out for all the right reasons.